Push notification configuration - iOS
This article will walk you through the steps of setting up push notifications (iOS) with brainCloud.
Prerequisites
- You have an Apple developer account
- You have a physical iOS 10 and above testing device
Step 1: Create an application on Unity editor
- Open Unity hub and create a new project.
- Download and import the latest brainCloud client Unity package to this project. Once imported the plugin correctly, you will find the brainCloud tab appears on the editor menu.
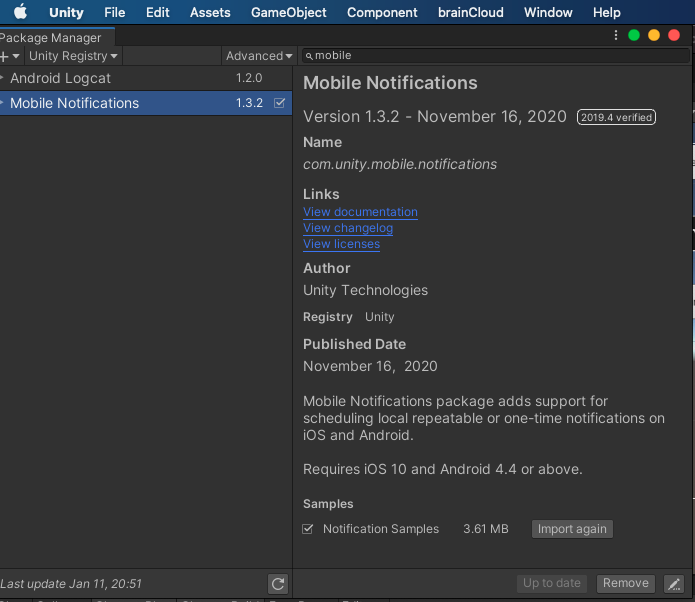
- Download and import the latest
Mobile Notificationspackage from package manager to your project.
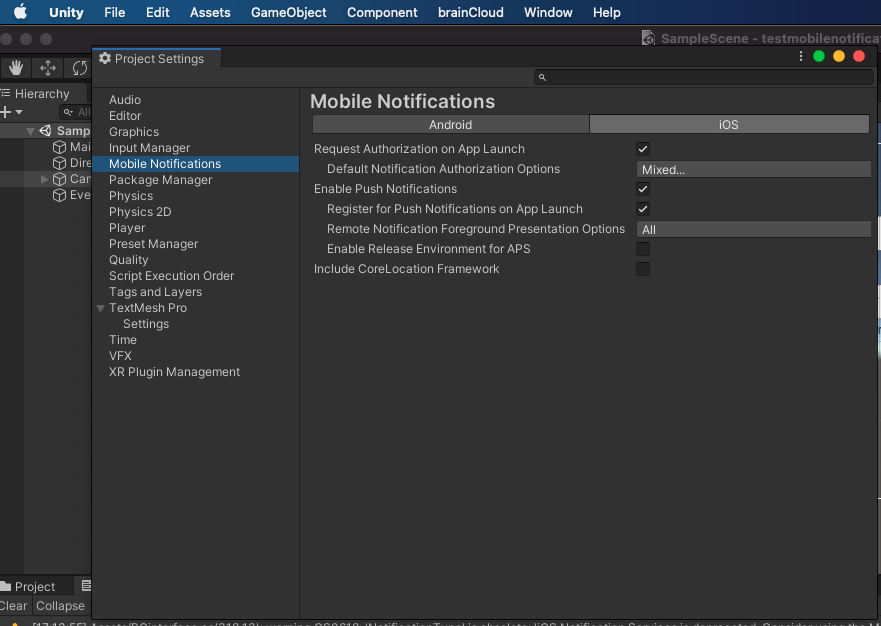
- Set up mobile notifications for iOS from edit->project settings
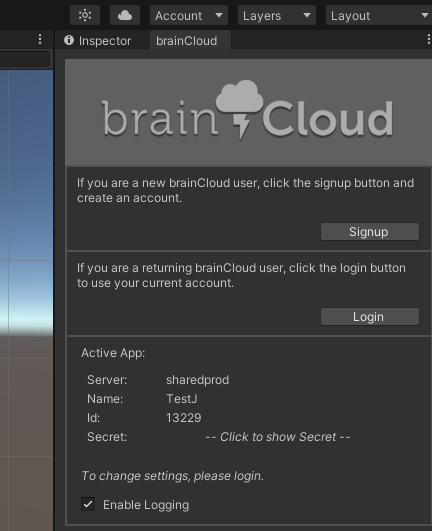
- Open brainCloud setting from the tab, select or create a brainCloud back-end app linked to your project.
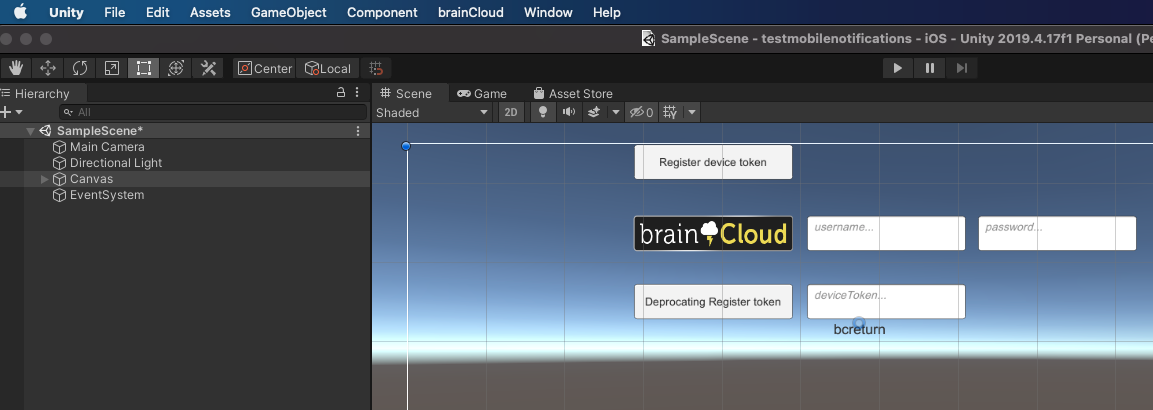
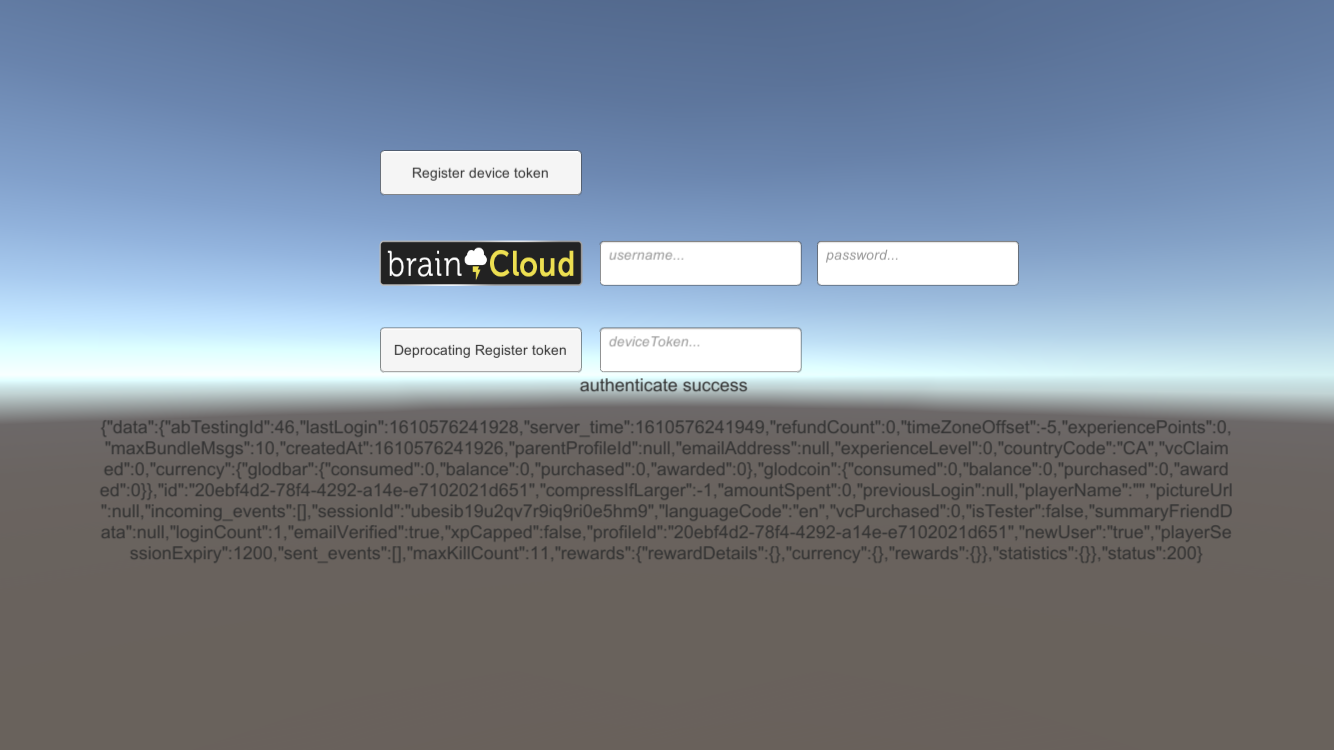
- Create some basic functional UI elements in your project and link the code behind them as the following image.
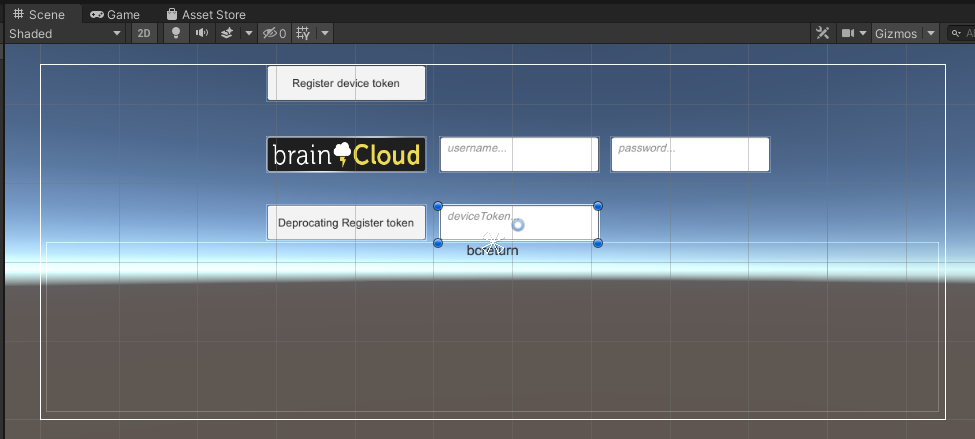
- Functions and its code that linked behind the button [Register device token] are similar to below. Once authenticate end-user with their brainCloud account, from the Authorization request, retrieve the device token and pass it to brainCloud device token register method --
RegisterPushNotificationDeviceToken()
    IEnumerator RequestAuthorization()
    {
        var authorizationOption = AuthorizationOption.Alert | AuthorizationOption.Badge;
        using (var req = new AuthorizationRequest(authorizationOption, true))
        {
            while (!req.IsFinished)
            {
                yield return null;
            };
            string res = "\n RequestAuthorization:";
            res += "\n finished: " + req.IsFinished;
            res += "\n granted:  " + req.Granted;
            res += "\n error:  " + req.Error;
            res += "\n deviceToken:  " + req.DeviceToken;
            Debug.Log("debug inside ienumerator the res: "+ res);
            _bc.PushNotificationService.RegisterPushNotificationDeviceToken(req.DeviceToken, authSuccess_BCcall, authError_BCcall);
        }
    }

    //click register token button
    public void RegisterDeviceToken()

    {

        StartCoroutine(RequestAuthorization());
    }
- Finish the rest methods and callbacks code in your script.
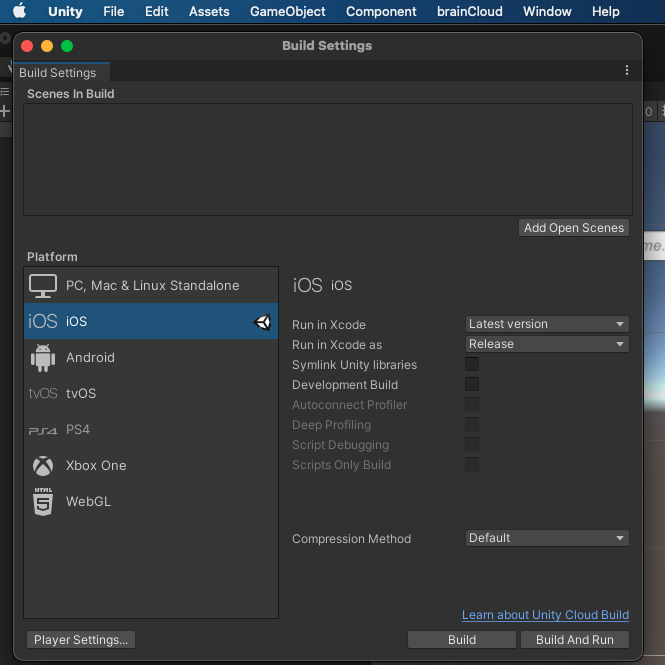
- Click
Build Settingsfrom UnityFiletab, switch platform to iOS.
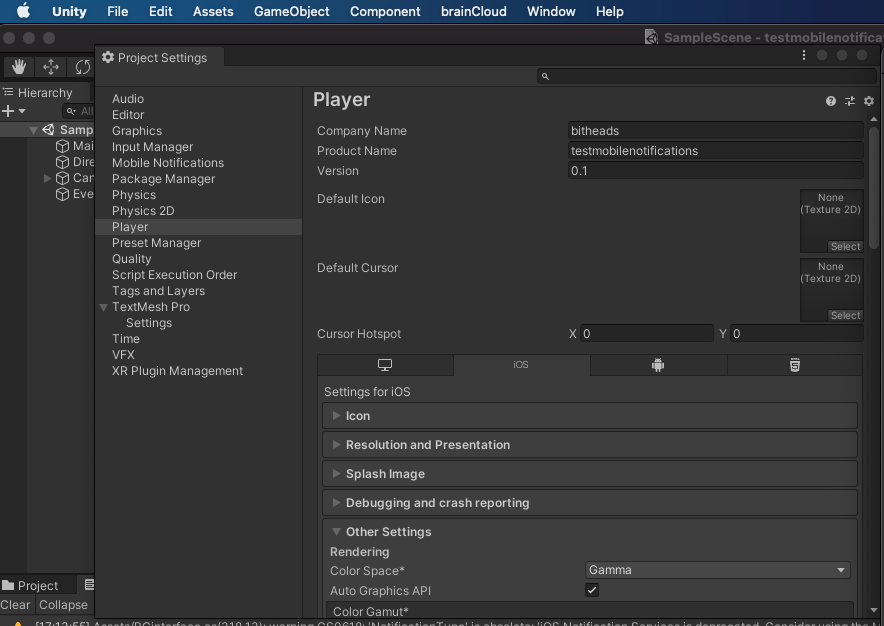
- Set up project
Bundle Identifierandtarget SDKviaPlayer Settings.
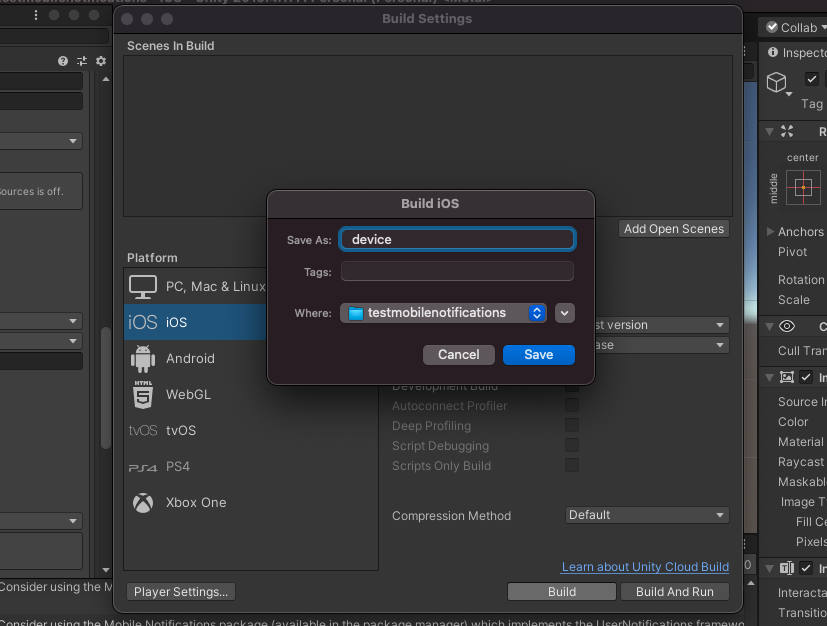
- Click
Build and Run, then create a folder to save this Xcode project on your local storage.
Step 2: Setup your project on Xcode editor
- Once Xcode is opened from the above step, open
Signing & Capabilitiesfrom your target device in the project panel.
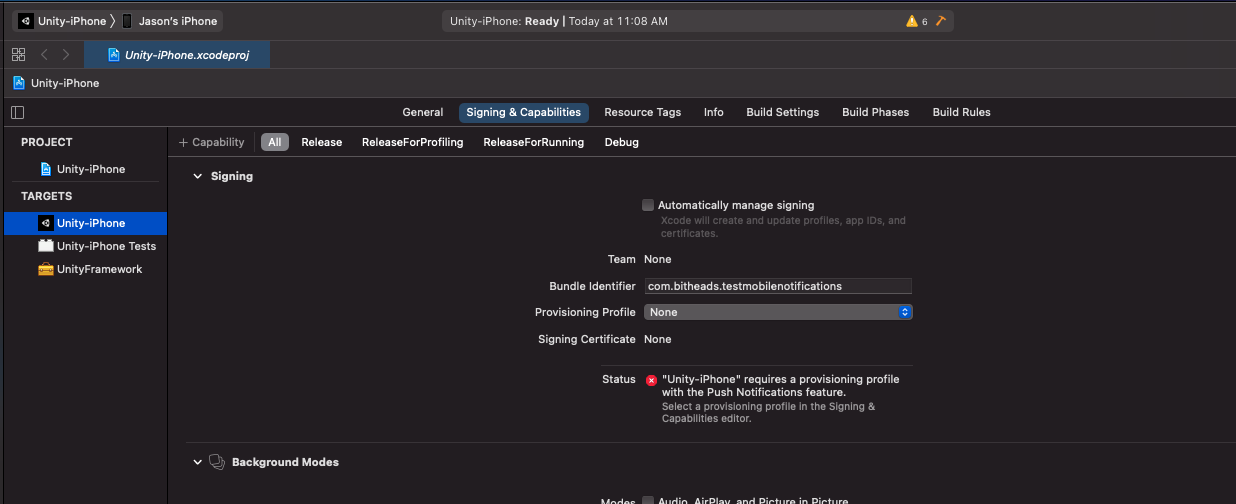
- Click
Automatically manage signingcheckbox and enable it.
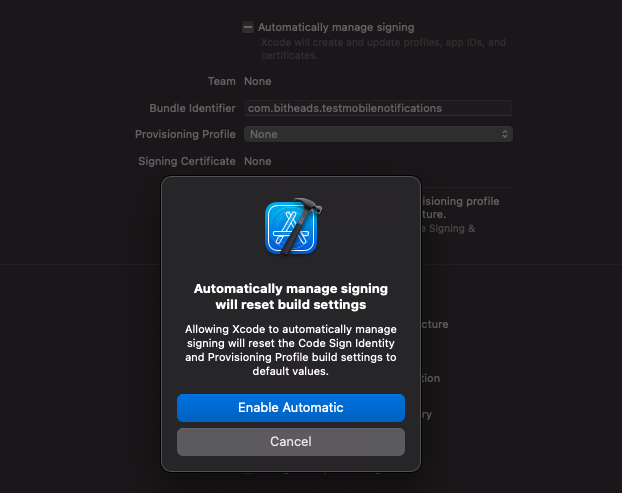
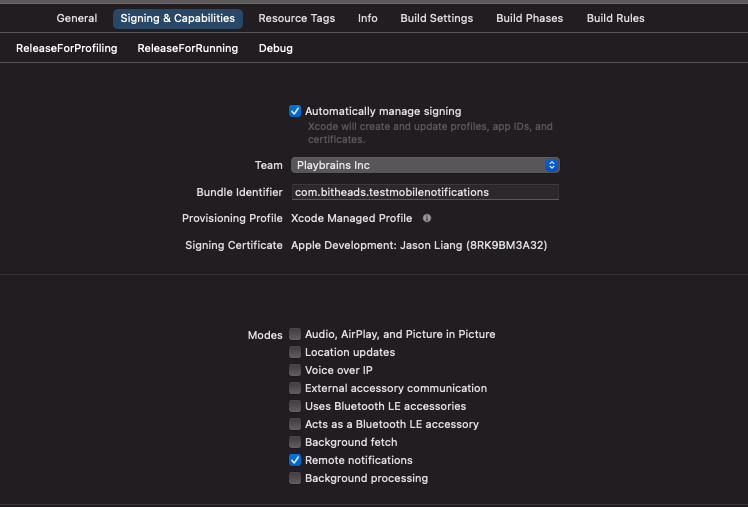
- Then, login into your team and provisioning profile.
Step 3: Create and download a notification p12 file from your apple account
- You should find your project identifier is created from the above step on the list of Identifiers under the
Certificates, Identifiers & Profilessection of your apple developer account.
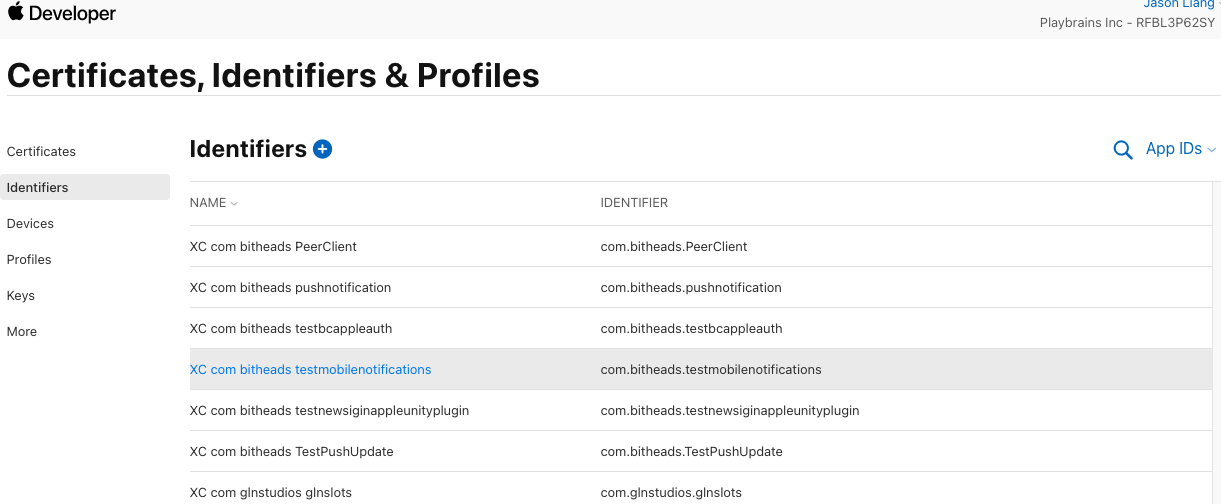
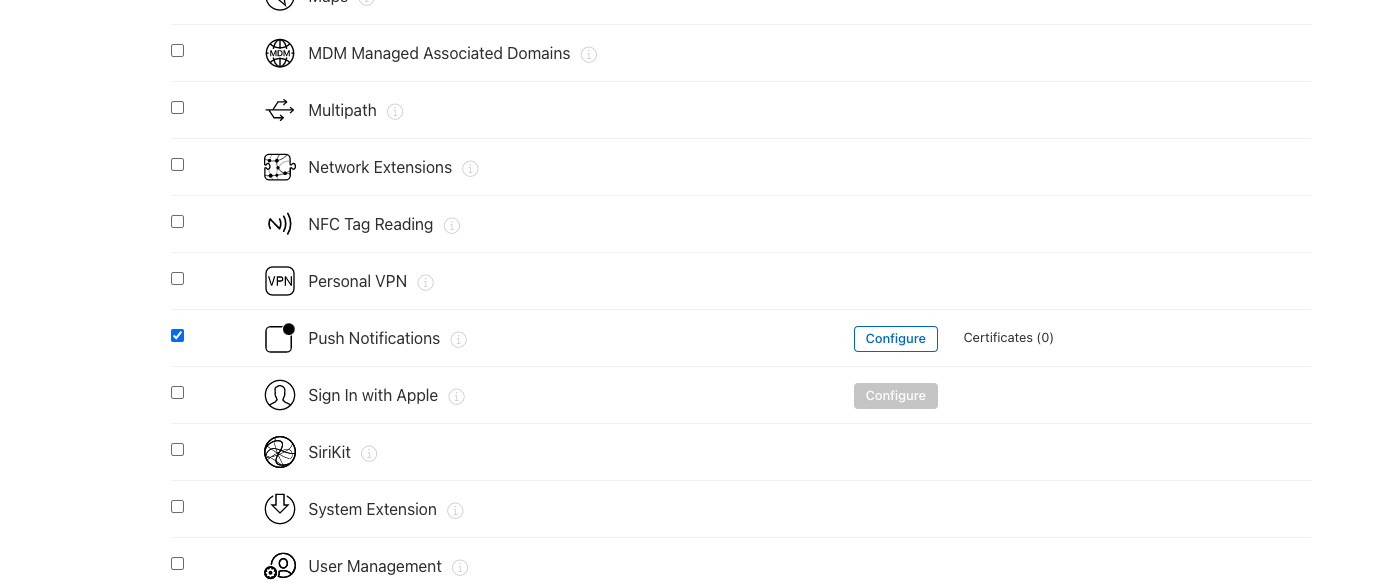
- Click it and scroll down to
Pushnotificationrow, then clickconfigure.
- Click
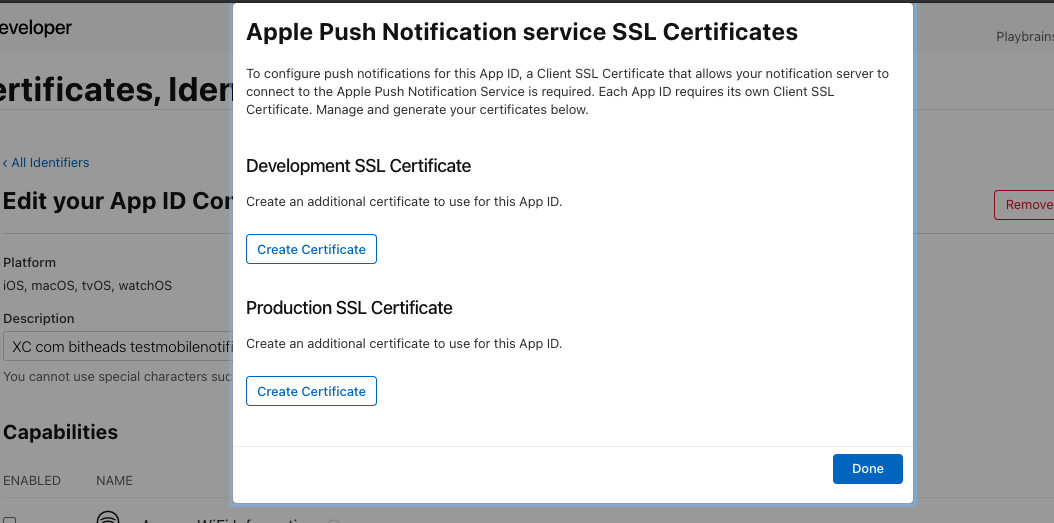
create certificateunder an environment type ( you will use the same environment type when configuring push notification settings on brainCloud), then clickcontinueto create a CSR file.
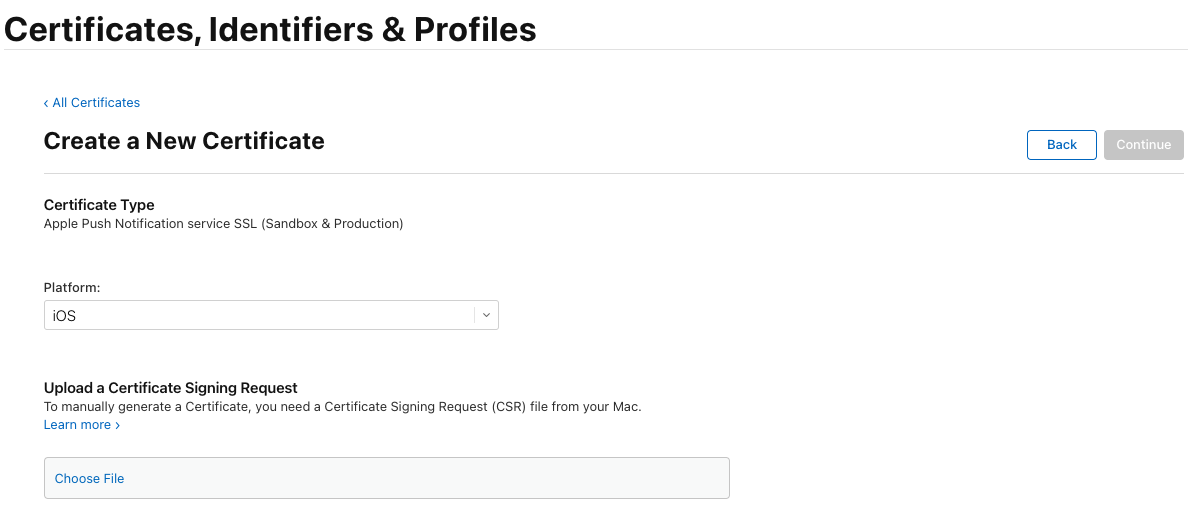
- You will be asked to upload a certificate then.
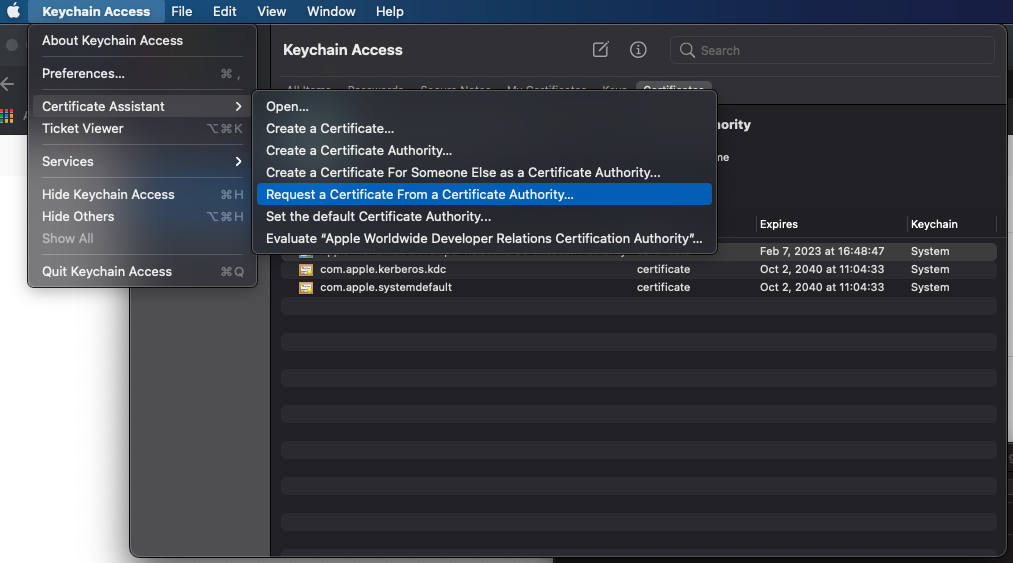
- Open Keychain from your Mac, click the
Certificate Assistantmenu and selectRequest a Certificate From a Certificate Authorityunder theKeychain Accesstab.
- Fill out the fields and select
Savedto disk, then click Continue.
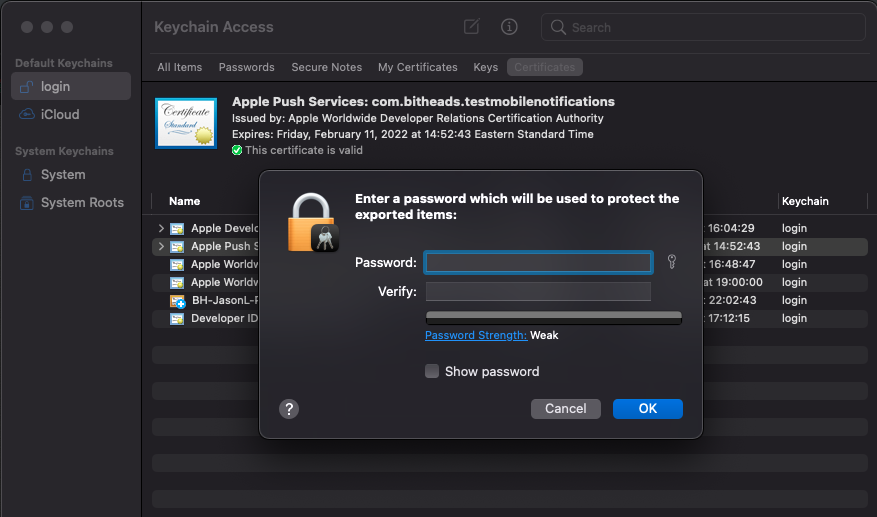
- Choose a folder to save this cert.
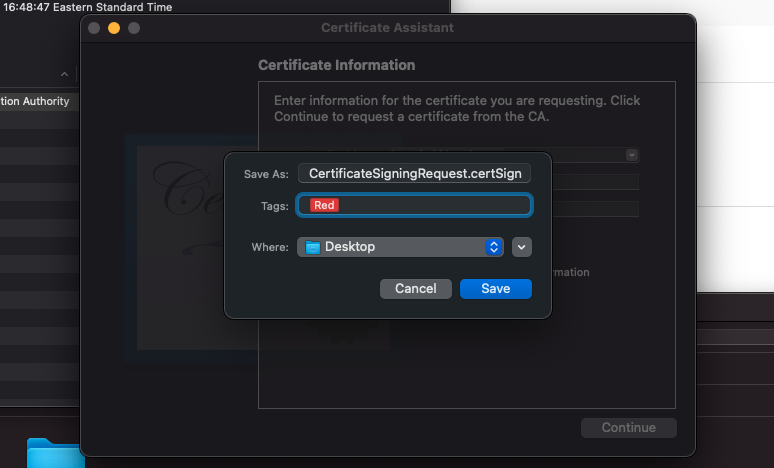
- This cert file will be saved to your local folder.
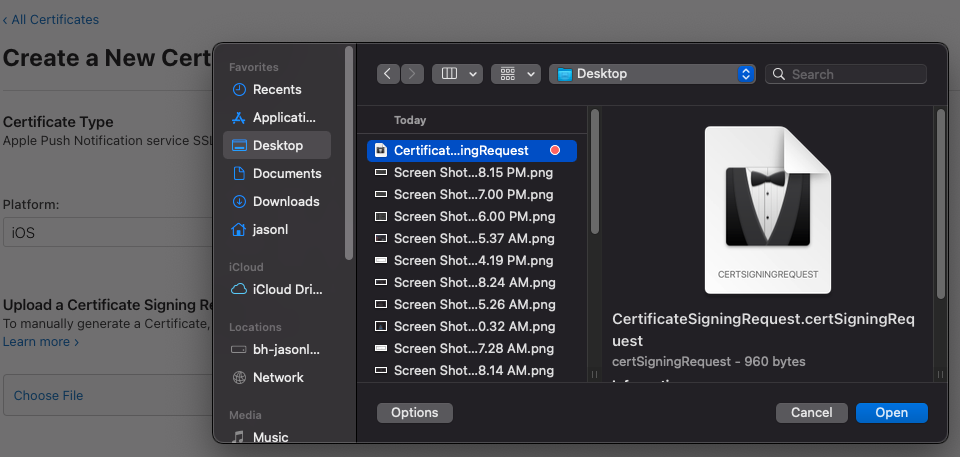
- Go back to your apple account page, upload this signing request file there, and hit
Continue.
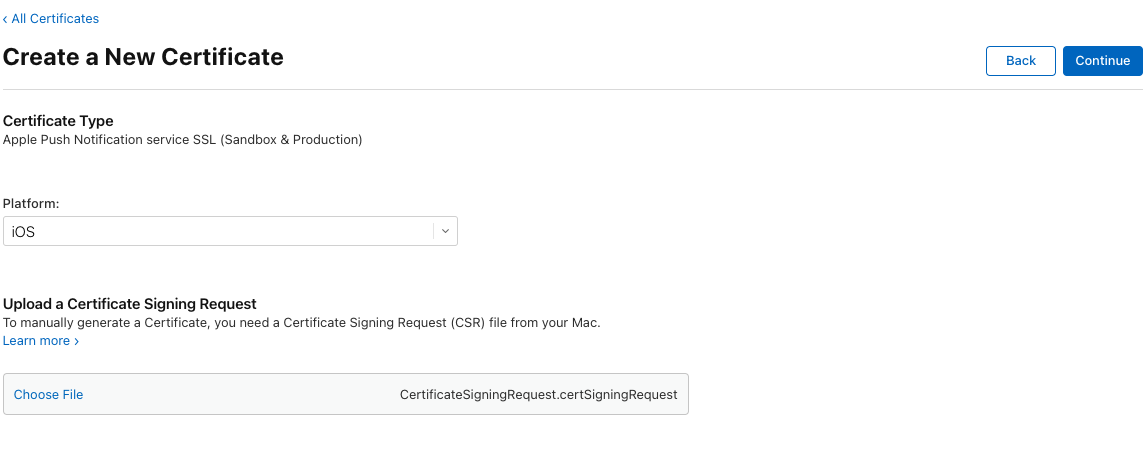
- Click download to save this certificate.
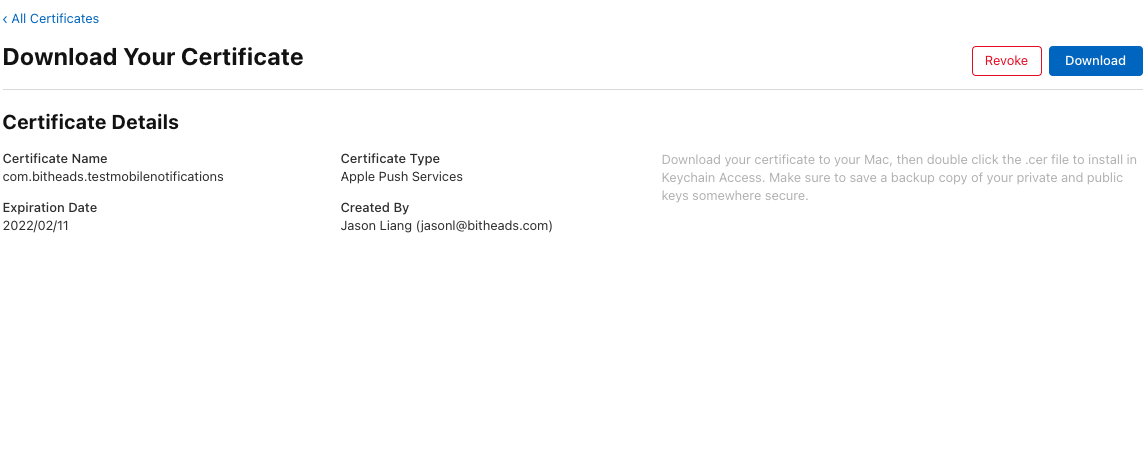
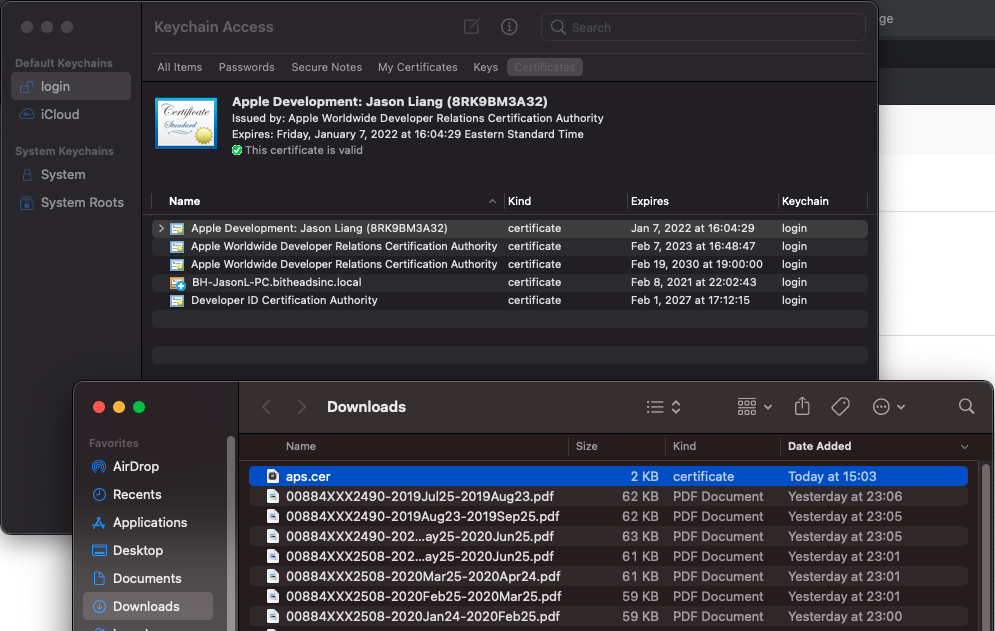
- Go back to your Keychain app again, drag this certificate file from the above step to the
certificatessection of theloginkeychains
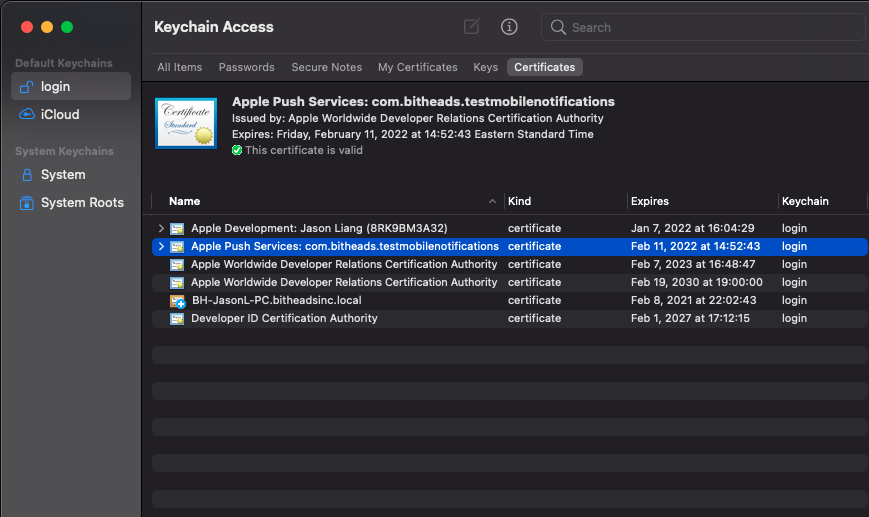
- You will find the
push services certificateis added to thecertificateslist.
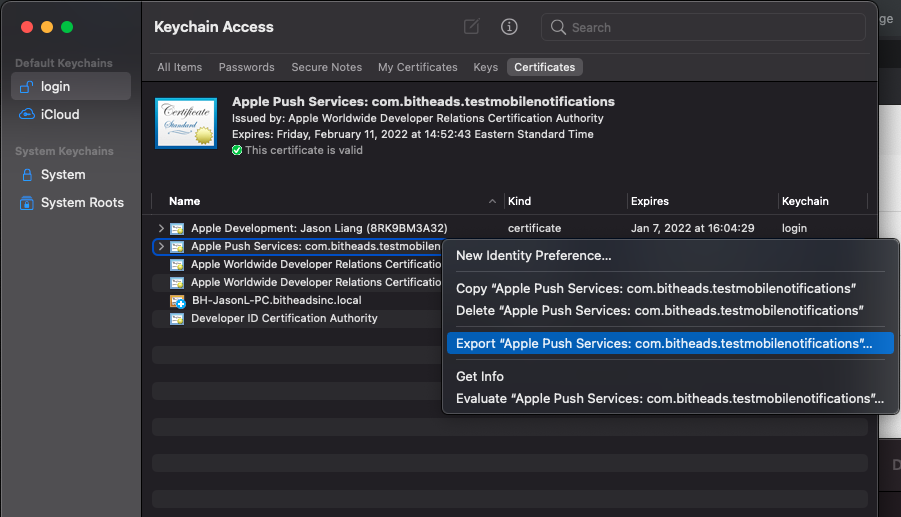
- Right-click the
push services certificateand export it to local storage.
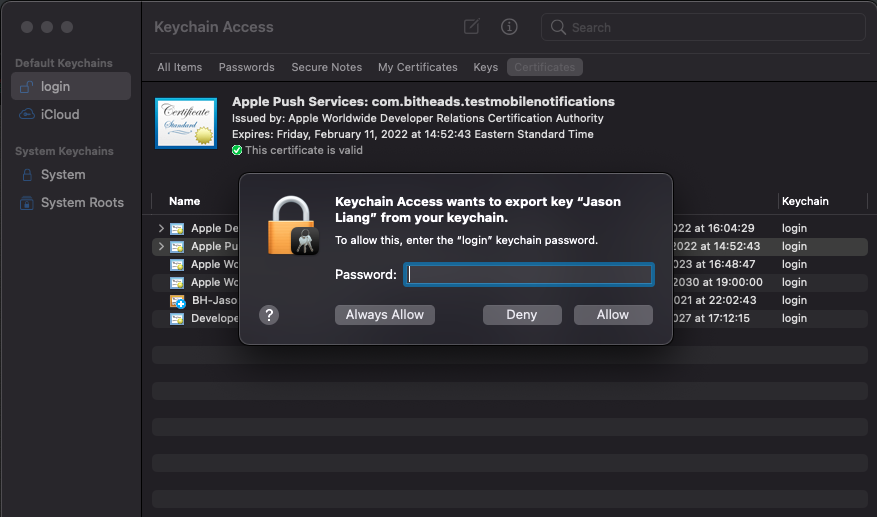
- Enter your login password and click
continue
- Click
Save.
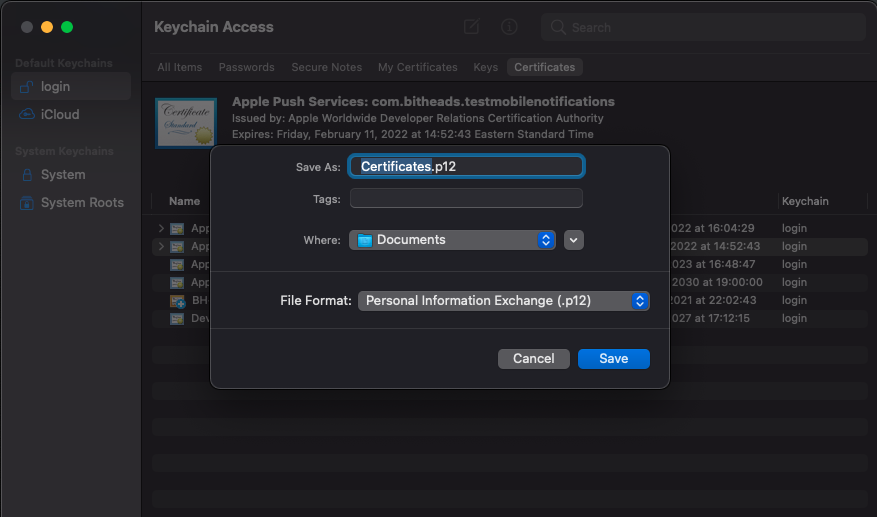
- Leave a password for this file, you will need this password later when configuring push notification on your brainCloud portal.
Step 4: Upload a p12 certificate file to your app on brainCloud portal
- Go to
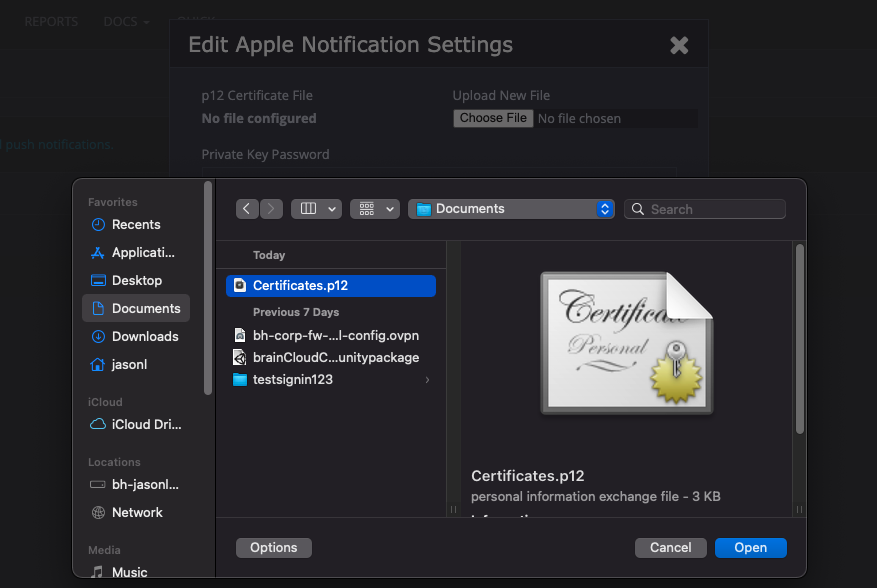
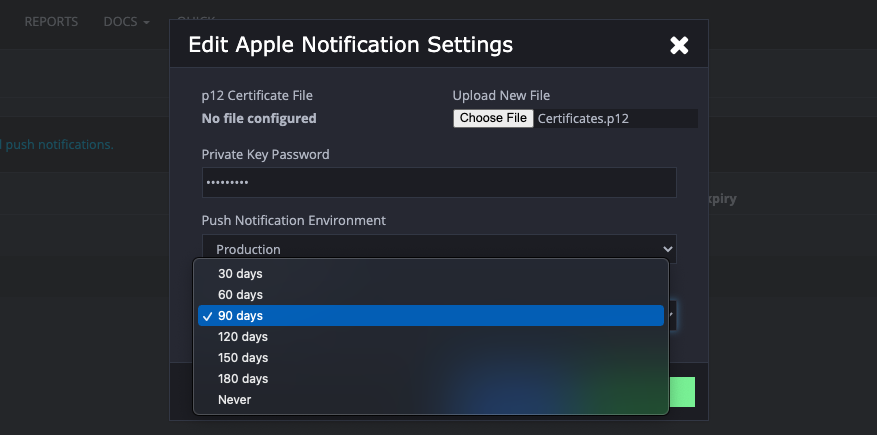
Design | Notifications | Settingspage, clickedit settingsunder theActionscolumn ofApple, upload the p12 certificate you get from the previous steps.
- Enter the p12 file protect-password and select the certificate environment accordingly. It should match the type when you created this certificate from your apple account.
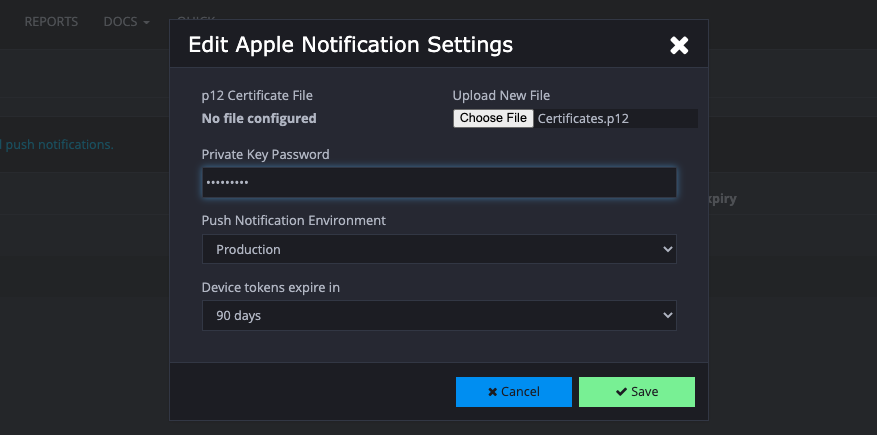
- Set an expiration day.
Alternative approach: Token-based (.p8) configuration
Steps 3 and 4 above walk through the certificate-based (.p12) setup. As an alternative, brainCloud also supports Apple's token-based (.p8) signing keys. A token-based key never expires (unlike a .p12 certificate, which must be renewed every 12 months), and the same key can be reused across every app registered under your Apple Developer team, so it's worth setting up this way if you don't already have a .p12 workflow in place.
- In your Apple Developer account, go to
Certificates, Identifiers & Profiles>Keys, create a new key with theApple Push Notifications service (APNs)capability enabled, then download the.p8file. Apple only lets you download this file once, so store it somewhere safe. - Note the Key ID shown for the key you just created, and your Team ID, found under
Membershipin the Apple Developer portal. - On the brainCloud portal, go to
App>Design>Notifications>Settings, select theApplerow and click[View...], then[Edit]. - Under
Authentication Type, selectToken Based (.p8). - Fill in the fields that appear:
Key ID-- the Key ID noted above.Team ID-- your Apple Developer Team ID.PKS8 PEM Data-- open the.p8file in a text editor and paste its full contents (including the-----BEGIN PRIVATE KEY-----/-----END PRIVATE KEY-----lines) into this field.App ID-- your iOS app's Bundle ID.
- Check
Push Notification Environment(Development/Production) -- this setting is shared with the certificate-based configuration, so make sure it still matches where you want to send pushes. - Click
[Save].
Once saved, continue with Step 5 below to test push notifications from your app.
Step 5: Run app via Xcode
- Go back to Xcode editor
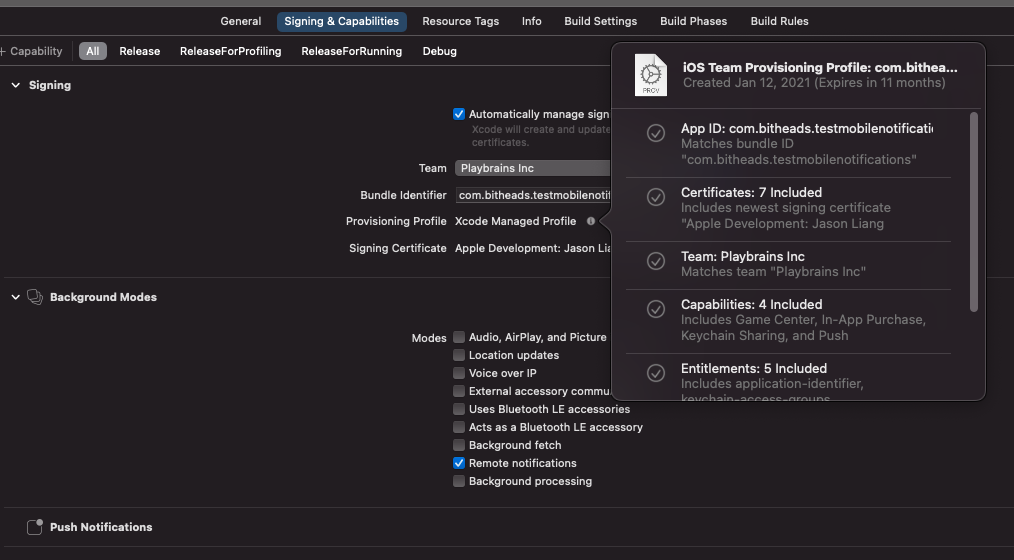
- Connect your test device to Xcode and run this project.
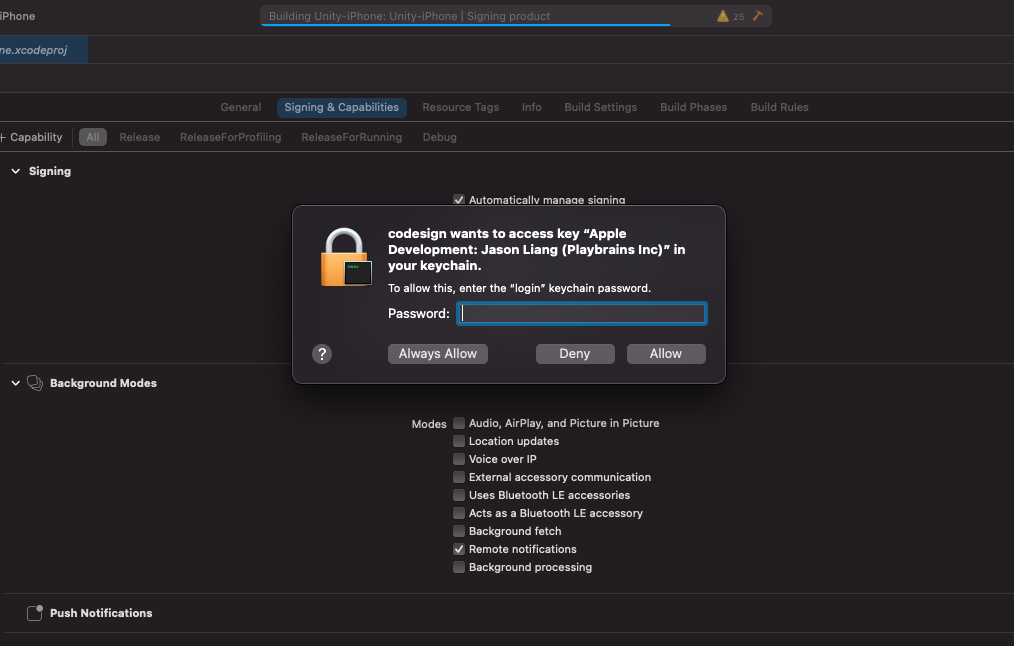
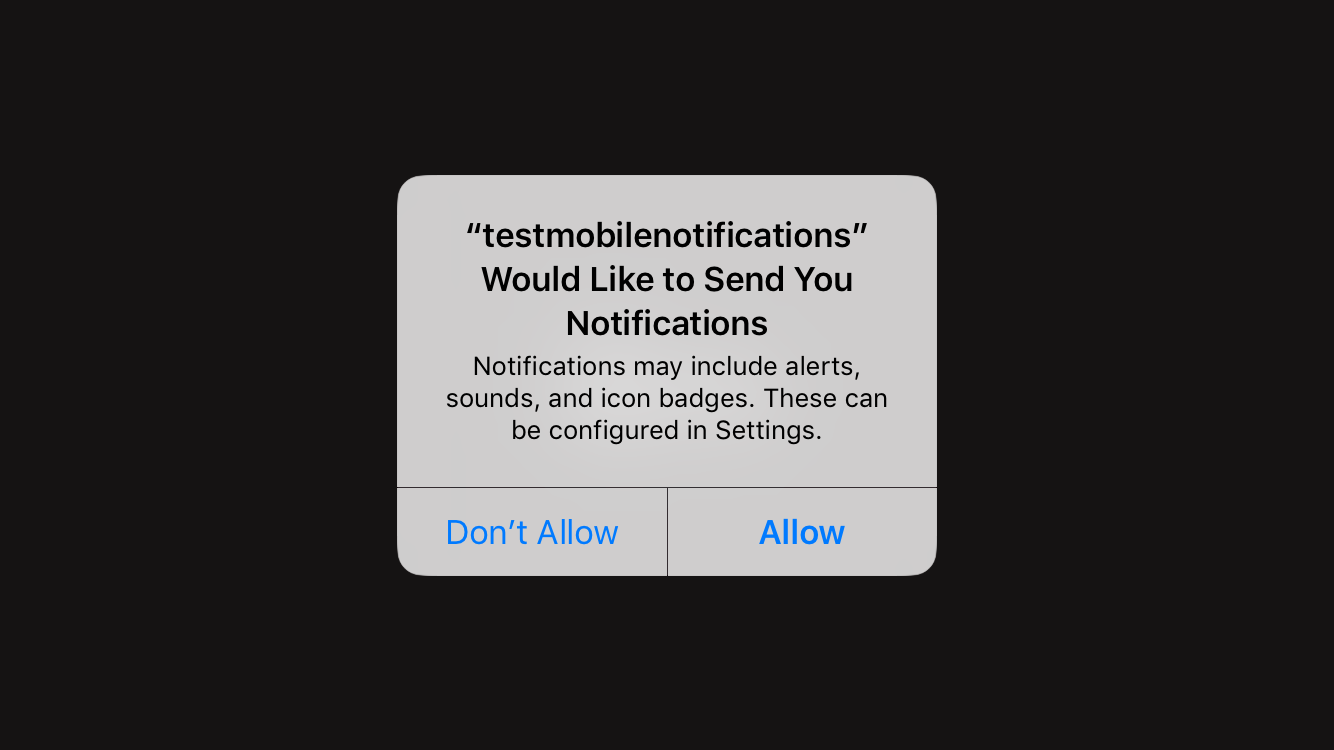
- Click
Allowwhen asking for notification authorization.
- Authenticate an end-user and register device token with brainCloud.
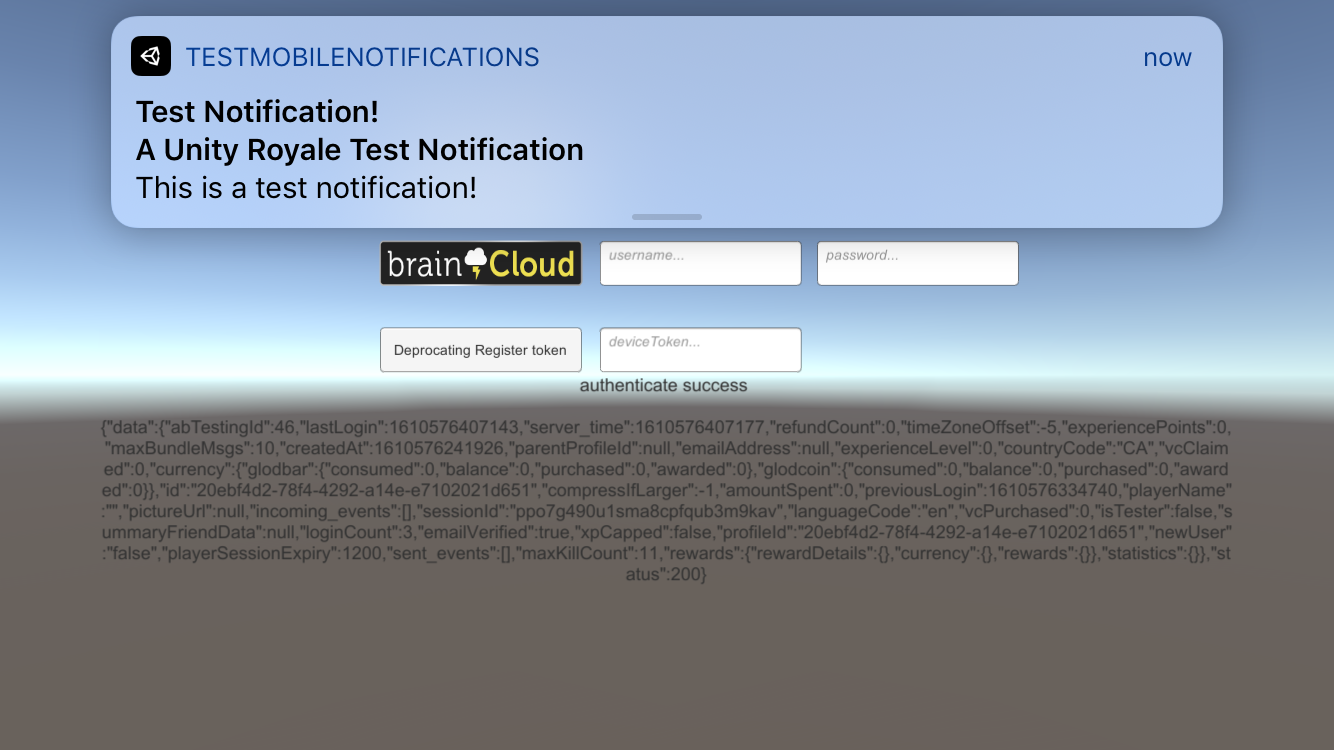
- Check the sent notification.
- Check the registered device token of the end-user from brainCloud portal.
